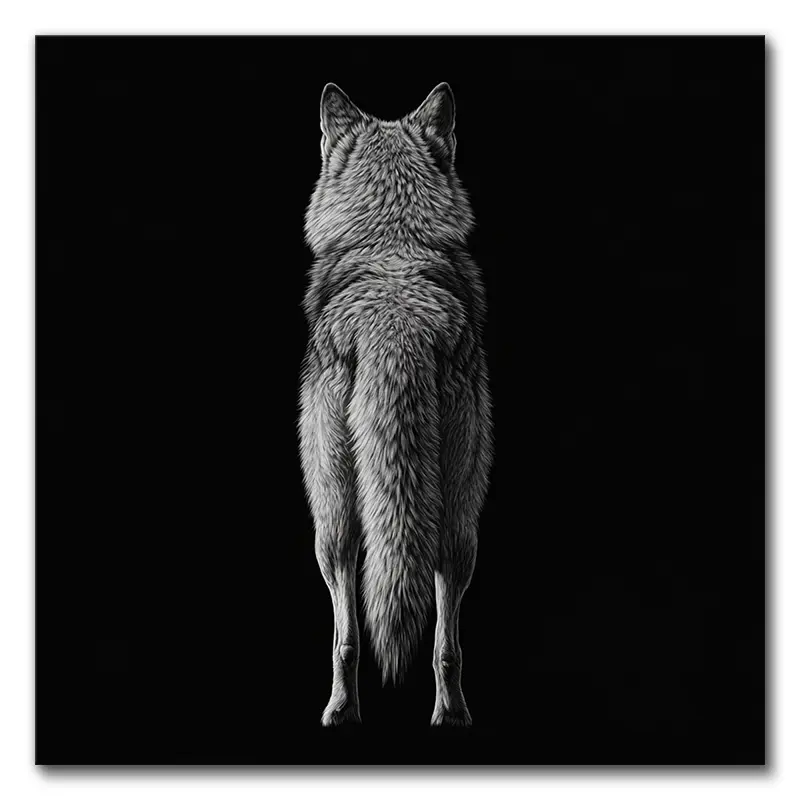
Creating DIY canvas art at home is an enriching venture that lets you express your individuality while transforming boring walls into vibrant showcases. Start with essential supplies like acrylic paints, a stretched canvas, and some tools such as putty knives to add texture—yes, even that potato masher from the kitchen can join the fun! Apply a base coat, then experiment with patterns using joint compound, allowing layers to dry. Once you're satisfied, secure your masterpiece with a clear spray sealant. Remember, proper lighting enhances your artwork's charm, and who knows, you might stumble upon techniques that spark even more creativity!
Overview of DIY Canvas Art

Creating DIY canvas art is a fantastic way to release your creativity while personalizing your space. By engaging in canvas art DIY projects, you not only give your home a unique touch but also initiate a journey of self-expression and experimentation. With endless canvas art ideas at your fingertips, the possibilities are virtually limitless.
Whether you're a novice or a seasoned artist, the process encourages you to explore different textures and colors, allowing your imagination to flourish. One of the most appealing aspects of DIY canvas art is its cost-effectiveness. You can easily repurpose old or thrifted canvases, transforming forgotten pieces into something fresh and new.
This not only helps save money but also gives you the thrill of reinventing existing artwork. As you immerse yourself in your canvas art projects, consider using materials like stretched canvas, joint compound, and acrylic paints, which are beginner-friendly and readily available.
The act of creating your own canvas art fosters a sense of accomplishment that's simply unmatched. You'll find that each finished piece serves as a reflection of your developing artistic skills, while also enhancing your home decor.
Plus, let's be honest—there's a certain satisfaction in knowing that you didn't just slap a store-bought print on the wall. Instead, you crafted something uniquely yours, reflecting your style and personality. So grab your supplies, and let your imagination run wild!
Essential Materials Needed

To kick off your DIY canvas art journey, you'll need some essential materials that set the stage for your creativity.
Start with a stretched canvas or canvas panels, which you can easily grab from a local craft store or online retailers; you'll also want to stock up on joint compound for texture, acrylic paints in your favorite colors, and a few handy tools like putty knives and brushes.
Don't forget to think outside the box with texturing tools—yes, that potato masher in your kitchen could be your new best friend for creating unique patterns!
Required Art Supplies
When diving into DIY canvas art, having the right supplies is essential for achieving stunning results. First and foremost, you'll need a stretched canvas, which can often be found at thrift stores or, if you're feeling particularly adventurous, custom-built to your desired dimensions.
Next, grab some acrylic paint; its vibrant hues will breathe life into your creations. Now, let's talk about joint compound, which is vital for adding that coveted texture to your canvas. Just remember, a thickness of no more than 1/4 inch is ideal for best results.
As for tools, a variety of putty knives and brushes are necessary to apply the paint and joint compound, but don't forget about creative texturizing tools like forks or sponges that can help you craft unique patterns worthy of a gallery wall.
Safety equipment, including gloves and masks, is a must when working with joint compound, ensuring you stay safe while releasing your artistic genius.
Tools for Texturing
With the right supplies in hand, it's time to focus on the tools that will help you texture your canvas art. The essential instruments for this creative adventure include putty knives and trowels, which are perfect for applying joint compound and crafting various textures. You might even want to raid your kitchen for unconventional tools like potato mashers or combs to create unique patterns that spark curiosity.
In addition to these tools, texture mediums such as modeling paste and gel medium will broaden your artistic horizons, allowing for different finishes on your canvas. A heavy-duty staple gun is also a must; it secures the canvas to the frame, keeping everything taut while you work. Once your textures are dry, brushes and palette knives will become your allies for detailed painting and blending techniques, adding depth to your masterpiece.
Lastly, don't forget your safety gear, including gloves and a mask, to protect yourself from dust while working with joint compound or plaster.
| Tools | Purpose | Notes |
|---|---|---|
| Putty Knives | Apply joint compound | Great for smooth application |
| Trowels | Create various textures | Shape and style your canvas |
| Potato Mashers/Combs | Unique patterns | Get creative with everyday items |
Steps to Create Textured Art

Creating textured art opens up a world of possibilities, and you'll want to gather the right materials before getting started.
With a base coat of white acrylic paint to prime your canvas and a trusty putty knife in hand, you can spread joint compound to your heart's content, adding unique patterns using tools like notched trowels and forks.
Just remember, while waiting for your masterpiece to dry, patience isn't just a virtue; it's essential for that perfect finish!
Required Materials Overview
To successfully commence your textured art project, you'll frequently find yourself gathering a few essential materials. First, you'll want a stretched canvas; whether you rescue one from an old, forgotten painting or hunt for a unique thrifted find, the canvas serves as your blank canvas—pun intended.
If it isn't pre-primed, a base coat of white acrylic paint is advisable, acting as a protective barrier against moisture absorption from joint compound, which is vital for the texture you're about to create.
Speaking of joint compound, this magical mixture is what adds dimension to your work. Apply it evenly with a putty knife, but beware of excessive thickness, as it may sag like your favorite pair of sweatpants after a long day.
To explore various textures, you can employ an array of tools—think notched trowels, forks, or just your good ol' fingers—each bringing its unique flair to your masterpiece.
Texture Creation Techniques
When you're ready to plunge into texture creation, start by applying your texture medium to the canvas using a palette knife or putty knife. Spread it evenly, ensuring you create the desired surface texture that can range from smooth to wildly rugged.
Don't stop there—experiment with an array of tools, such as forks, sponges, or even potato mashers; these unconventional items can yield fascinating patterns and effects that breathe life into your artwork.
Consider layering multiple textures; just remember to allow each layer to dry completely before adding more mediums or colors. This process not only adds depth but also visual interest, turning your canvas into a multi-dimensional experience.
If you want to kick it up a notch, incorporate found objects or stencils into your texture creation. This personal touch enhances your design and makes it uniquely yours.
Techniques for Adding Texture

Adding texture to your canvas can transform a flat artwork into a dynamic piece that draws the viewer in. One effective method to achieve this is by applying texture medium with a palette knife, which allows you to create various patterns and effects.
Feel free to experiment with different tools; combs and even potato mashers can yield fascinating results—who knew mashed potatoes could inspire art?
Layering multiple textures can further enhance your canvas. Just remember to allow each layer to dry completely before applying the next, which not only adds depth but also keeps your artwork from turning into a gooey mess reminiscent of a failed science experiment.
For added visual intrigue, incorporate found objects such as fabric or natural materials; these elements not only contribute uniqueness but can also evoke a sense of wonder.
If you prefer a smoother application, consider using joint compound or plaster, both of which can greatly ease the process. Joint compound, in particular, offers flexibility for corrections—so if you accidentally create a texture that resembles a lumpy pancake, don't panic; you can fix it.
Lastly, when you're ready to add color, acrylic paints work beautifully over textured surfaces. Blend colors while they're still wet to achieve smooth shifts and highlights, breathing life into your masterpiece.
With these techniques, you'll find that adding texture isn't just a detail; it's a transformative experience that enhances your canvas art from ordinary to extraordinary.
Painting and Finishing Your Art

Once your texture is set and dry, it's time to bring your canvas to life with paint. Opt for acrylic paints, which offer vibrant colors that can transform your artwork into a visual feast.
As you apply the paint, remember to blend it while it's wet; this technique allows for smooth shifts and adds depth that captivates the eye. Don't shy away from experimenting with dry brushing techniques—this involves using a brush with minimal paint, which can create stunning highlights and intricate details, enhancing the overall texture of your piece.
Once you've poured your creativity onto the canvas, exercise a bit of patience and let your artwork dry completely. Depending on how thick your layers are, this could take 12 hours or longer. Yes, that's longer than waiting for your favorite show to buffer, but it's worth it!
After the paint has dried to the touch, consider sealing your masterpiece with a clear spray sealant. This protective layer not only shields your artwork from wear and tear but also helps maintain the vibrancy of the colors you've so carefully selected.
Tips for Displaying Artwork

Displaying your artwork effectively can truly improve its impact in any space. First, consider the lighting; a well-lit area, preferably with natural light, can dramatically raise the textures and colors of your canvas art, making those hues pop like they're auditioning for a reality show.
When it comes to hanging your masterpiece, the appropriate hardware is vital. For heavier pieces, opt for wall anchors or heavy-duty hooks—nobody wants their artwork to take an unexpected dive, right?
Next, let's talk about height. Aim to hang your pieces at eye level, which generally means placing the center of your artwork about 57 to 60 inches from the floor. This height guarantees that viewers can appreciate your creation without cricking their necks.
If you've got a collection of smaller pieces, consider creating a gallery wall. Group them together, varying the spacing for an eclectic feel while keeping a cohesive theme or color palette to avoid a chaotic look that could confuse even the best of art critics.
Lastly, maintain your artwork's brilliance by regularly dusting it with a soft cloth. This practice not only keeps it looking fresh but also prevents damage over time. Just remember to avoid direct sunlight; after all, you want your art to age like fine wine, not wilt like a forgotten salad.
With these tips, your DIY canvas art will shine in any room, inviting admiration and sparking curiosity.
Resources for Further Inspiration

For anyone looking to dive deeper into the world of DIY canvas art, a wealth of resources awaits you. First, online platforms like Pinterest and Instagram can be treasure troves of creativity, offering a vast array of ideas and tutorials that cater to every skill level and artistic style imaginable. You might just stumble upon a technique that sparks your interest or a color palette that captivates your imagination.
Additionally, consider joining local art classes or workshops, where you can't only learn new techniques but also gain invaluable hands-on experience while connecting with fellow art enthusiasts. These interactions can lead to collaborative projects and lasting friendships, all united by a shared passion for creativity.
YouTube channels dedicated to DIY art projects are another fantastic resource. Here, you'll find step-by-step video tutorials that demonstrate various methods and materials, making the learning process both engaging and accessible.
Participating in online forums or social media groups focused on DIY projects is equally beneficial. These communities allow you to share your work, seek advice, and receive constructive feedback, creating an environment of support and encouragement.
Lastly, don't overlook the potential for inspiration lurking in local art supply stores or craft fairs. Here, you can discover new materials and tools while gathering fresh ideas from other artists' creations.
Final Thoughts
Now that you've journeyed through the vibrant world of DIY canvas art, imagine wielding a paintbrush like a knight brandishing a sword, ready to conquer blank spaces in your home. With your newfound techniques and materials, you can transform everyday moments into textured masterpieces that invite curiosity and conversation. So, gather your supplies, release your creativity, and let your walls tell stories that spark wonder, making your living space as unique as a comet streaking through the night sky.
And if you ever find yourself in need of inspiration or high-quality canvas prints, look no further than VerVeLush. Our expertise in art and unique offerings can help elevate your creative journey, turning your artistic visions into stunning reality. Explore our collection and see how we can enhance your home with captivating pieces that resonate with your personal style.


