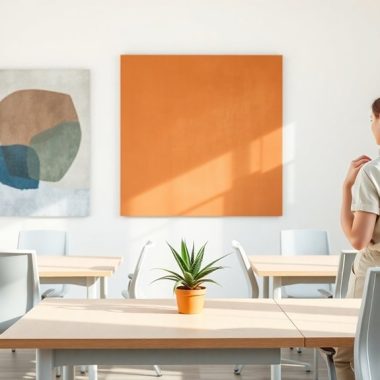
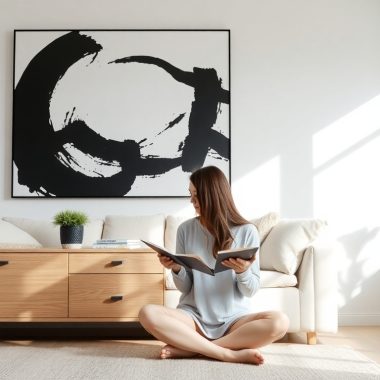
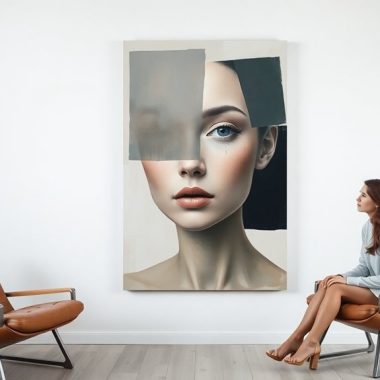
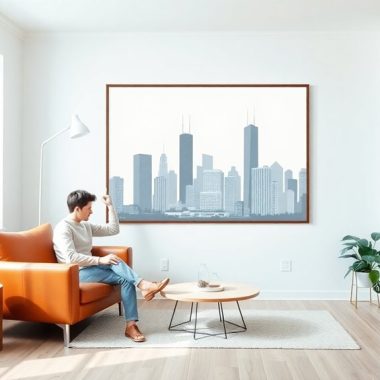
Textured canvas art brings a enchanting twist to wall decor, transforming flat surfaces into dynamic displays of depth and character. You can easily create these innovative pieces using basic materials like cotton canvas, joint compound, and a few handy tools. By applying joint compound with trowels or even credit cards, you can craft unique textures that invite touch and curiosity. After mixing in vivid colors or embedding natural elements for added dimension, you'll find your walls can become vibrant landscapes. So, if you're looking to enhance your decor game, there's much more to explore in this fascinating world beyond traditional methods.
What Is Textured Wall Art?
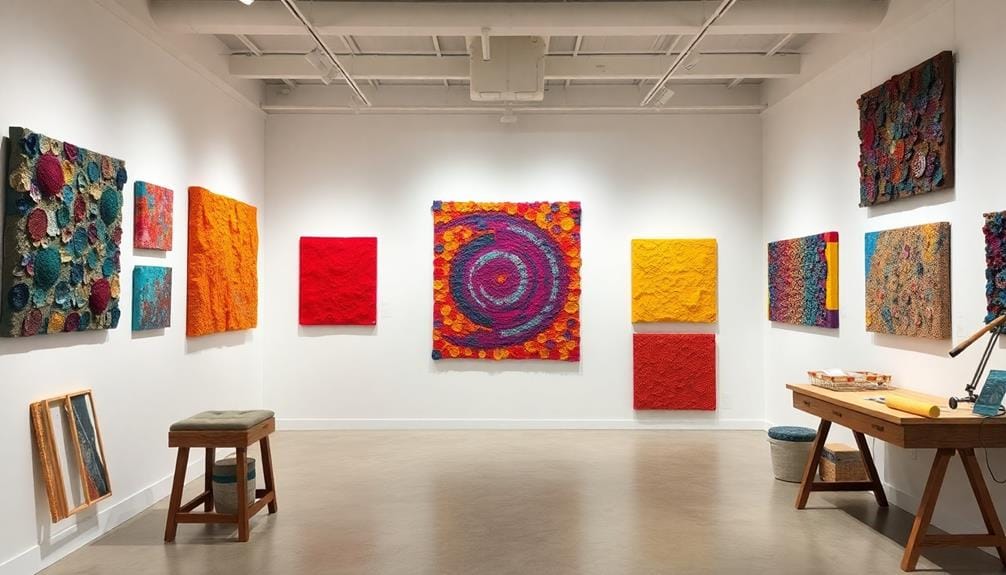
Textured wall art isn't just about paint on a canvas; it's an innovative form of expression that uses three-dimensional materials to create depth and intrigue. This enchanting art style transforms flat surfaces into vibrant landscapes, inviting viewers to explore a tactile experience that a traditional painting simply can't provide. Imagine a textured art canvas where layers of color and material interplay, drawing your eye and sparking your imagination.
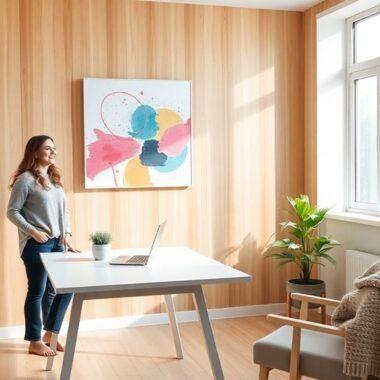
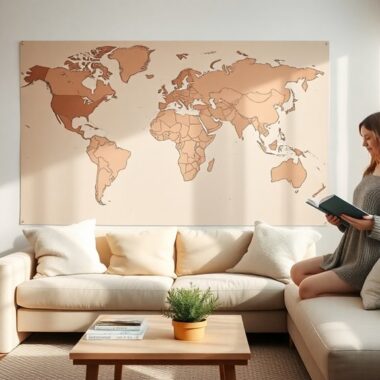
As you explore the world of textured canvas art, you'll discover that it's increasingly popular, thanks in part to its calming aesthetic and adaptability to various home styles and color palettes. Whether you lean towards minimalist modern canvas wall art or prefer a more eclectic vibe, textured wall art can fit seamlessly into your decor.
The unique textures and neutral tones employed enhance the overall ambiance of a space, effortlessly turning ordinary walls into dynamic focal points.
What's more, you don't have to be a professional artist to enjoy this trend; textured wall art can also be a delightful DIY project. By customizing your own pieces, you can express your creativity while ensuring that your artwork reflects your personal style.
Picture transforming a blank wall into an engaging visual treat, where each stroke and layer tells a story, making it a conversation starter for guests. Ultimately, textured wall art isn't just decoration; it's a transformative experience that invites curiosity and wonder.
Essential Materials for Creation
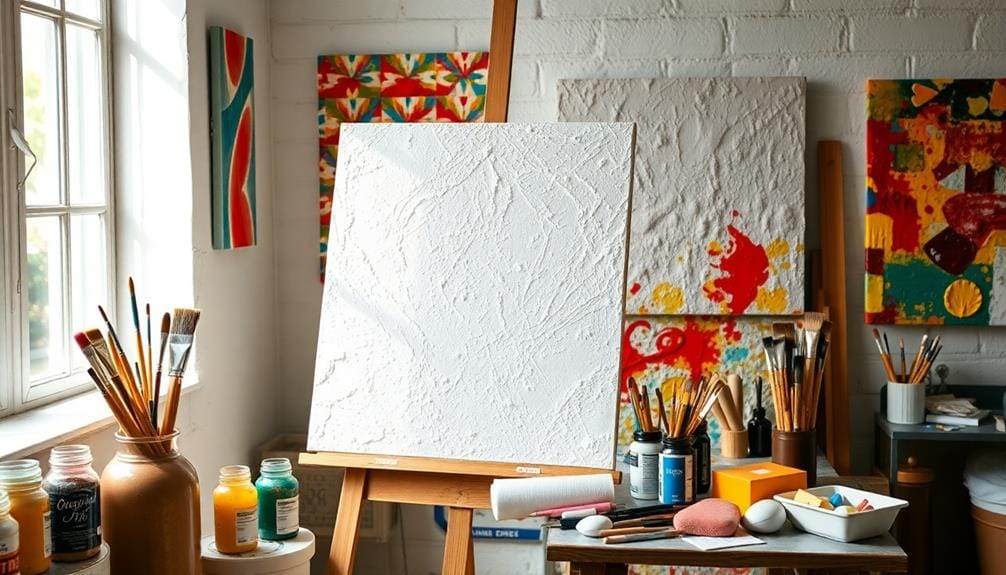
Creating textured canvas art often involves gathering a few essential materials that can make the process smoother and more enjoyable. To initiate this creative journey, you'll want to make sure you're well-prepared. Here's a handy list of materials to think about:
- 1×2 wood pieces for the frame
- Cotton canvas fabric, available at local fabric stores or online
- Joint compound (specifically dust control drywall mud)
- Various trowels or taping knives for applying textures
- A heavy-duty staple gun for securing your canvas
First, the frame serves as the backbone of your artwork, providing the necessary support. You'll find 1×2 wood pieces perfect for this task, sturdy yet lightweight.
Next, a cotton canvas fabric is your canvas of choice—easily sourced and ideal for texture application. When it comes to creating that coveted texture, joint compound becomes your best friend; just keep its thickness under 1/8 inch to prevent cracks that might ruin your masterpiece.
For those who like to think outside the box, tile mastic can also be used for its strong adhesion, while plaster, although a bit more temperamental, can lend a unique flair if handled with care.
Don't forget about the tools! A heavy-duty staple gun and a variety of trowels or even potato mashers can add delightful effects to your art.
Step-by-Step Art Creation Process
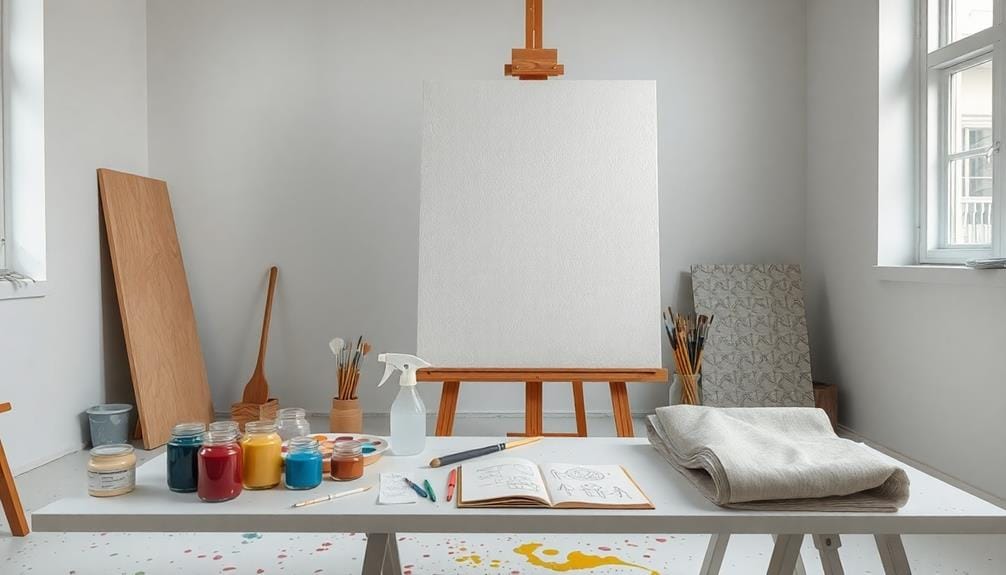
Now that you've gathered your essential materials, let's walk through the art creation process step-by-step, ensuring you've got everything lined up for a masterpiece.
You'll start by applying texture with joint compound, releasing your creativity as you explore various techniques that can turn a simple canvas into an enchanting visual feast.
With each layer, you'll not only add depth but might also find yourself wondering if this is really art or just a very elaborate cake waiting to be frosted!
Materials and Tools Needed
To commence your canvas art journey, you'll need to gather a few essential materials and tools that will help you create a stunning piece of textured art. Each component plays a vital role in ensuring your masterpiece not only stands out but also reflects your creativity.
Here's a quick list of what you'll need:
- 1×2 wood pieces for framing your canvas, cut to your desired size.
- Cotton canvas that can be tailored to fit your artistic vision.
- Joint compound, which will give your artwork that desired texture.
- Miter saw to make precise cuts in the wood, ensuring a sturdy frame.
- Heavy-duty staple gun and various sizes of trowels or taping knives for applying texture efficiently.
When assembling the frame, remember to cut two pieces at 60 inches and four at 48 inches, using pilot holes for screws to secure everything neatly.
Once your frame is ready, you can apply the joint compound liberally to the canvas, allowing it ample time to dry before diving into the exciting domain of layering and painting.
Don't shy away from using quirky tools like potato mashers or combs to create unique textures; experimentation is part of the fun!
Texture Application Techniques
Texture application involves several key steps that can raise your canvas art to new heights. Start by applying joint compound to your canvas with a taping knife, adjusting the angle and pressure to cultivate distinct textures and depth. Think of this as a dance between your tool and the canvas—one wrong move, and you might create an abstract masterpiece by accident!
Next, don't hesitate to experiment with various tools, such as palette knives, combs, or even unconventional items like potato mashers, to forge unique patterns within the compound.
Once you've created your initial layer, allow it to dry for 12-24 hours; this is vital to prevent cracking, which can be a real party pooper.
When you're ready for the next step, introduce color by mixing acrylic paint with your joint compound. Apply it in strokes or washes to amplify the visual interest of your textured surface.
For an added dimension, consider embedding natural materials like twigs or fabrics into the wet compound before it dries. This not only enhances the tactile experience but also adds an organic touch to your artwork—nature's way of saying, "I'm here too!"
Finishing Techniques for Texture
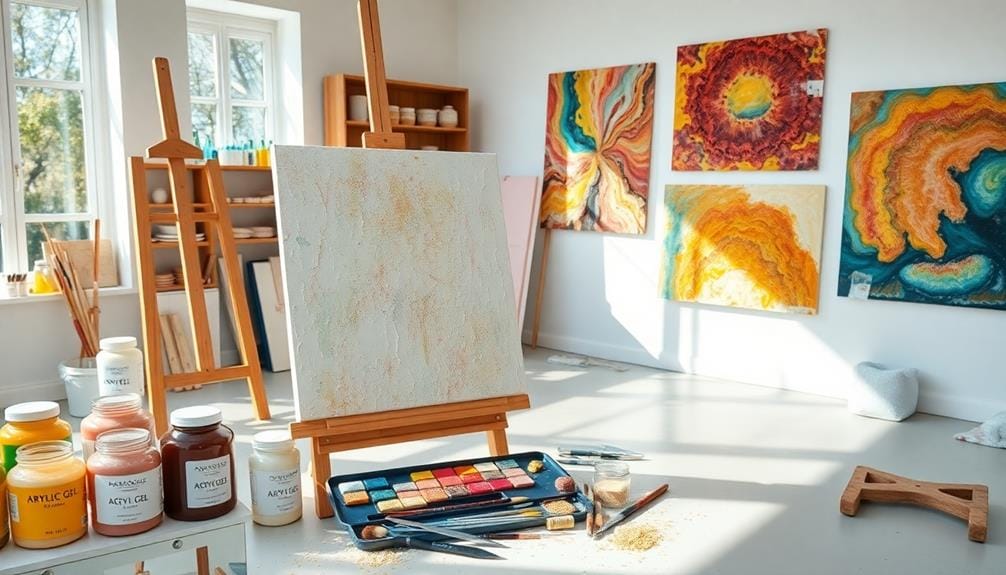
When working on textured canvas art, mastering finishing techniques can greatly improve your piece. The finishing stage is where your creation transforms into an enchanting work of art, inviting viewers to explore its depth.
You'll want to confirm the first layer of joint compound dries for 12-24 hours, allowing for proper adhesion and preventing cracking. Once you've got that down, consider the following techniques to enhance your artwork:
- Mix paint with joint compound for a custom color that improves texture.
- Add strokes of black acrylic paint over dried joint compound to create striking contrast.
- Incorporate materials like fabric, satin paint, or gold leaf foil for unique effects.
- Experiment with unconventional tools like trowels or even old credit cards to apply texture.
- Use silhouettes to introduce layers and dimension, surprising your audience with hidden elements.
As you explore these techniques, remember that each layer you add contributes to the story your canvas tells.
When you mix colors and materials, you're not just decorating; you're building a relationship between the textures, colors, and the viewer's experience.
Don't shy away from experimentation—after all, some of the best discoveries come from those oh-so-happy accidents. So, embrace your creativity!
Who knows? You might end up with a masterpiece that not only decorates a wall but also sparks a conversation.
Now, let's get ready to admire your textured creation once it's complete!
Hanging Your Textured Artwork
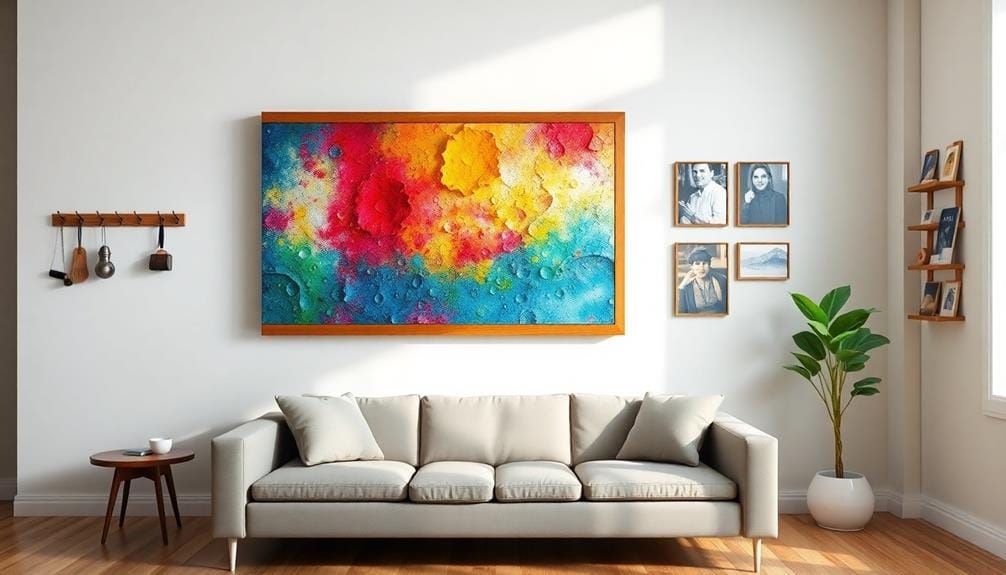
When it comes to hanging your textured artwork, choosing the right hardware is essential for both safety and aesthetic appeal.
You'll need sturdy D-ring hangers and reliable wall hooks that can support the weight of your masterpiece, ensuring it doesn't come crashing down like a surprise plot twist in a bad movie.
Plus, don't forget to check the stability of your wall; after all, even the most beautiful art deserves a solid foundation to shine from!
Choosing Proper Hanging Hardware
To safely display your textured canvas art, choosing the right hanging hardware is vital. The last thing you want is your masterpiece taking an unexpected tumble, leaving you with a canvas that's more abstract than intended!
Start by using large D-ring hangers paired with picture wire rated for at least 40 pounds; this combination guarantees your artwork stays put and upright.
When attaching D-rings, position them at one-third from the top of the artwork—this helps maintain balance and prevents any unsightly tilting that could distract from its beauty. Remember, a securely fastened picture wire is essential; a wire that's too loose might lead to unfortunate sagging or accidental falls.
Also, don't forget to select appropriate wall hooks that can support both the weight and size of your textured art, while considering the wall material as well. A picture hanging kit can be a fantastic investment, providing versatility and ease when displaying multiple artworks.
Here's a quick checklist to guide you:
- Large D-ring hangers
- 40lb-rated picture wire
- Secure wall hooks
- Proper D-ring placement
- Versatile picture hanging kit
With these essentials, you're well on your way to a stunning display!
Ensuring Wall Stability
Stability is vital for showcasing your textured artwork safely and beautifully. To guarantee your masterpiece hangs securely, start by using large D-ring hangers and picture wire rated for at least 40 pounds, as this robust support can handle the weight of those delightful textures.
You'll want to attach the D-rings approximately one-third of the way down from the top of the artwork; this positioning creates a balanced hanging that prevents any awkward tilting, which, let's be honest, nobody wants.
Next, make certain the wire is tightly secured to avoid any sagging or accidental falls—after all, your artwork should be admired, not auditioning for a role in a slapstick comedy. Before you commit to the wall, test the wire's strength because a flimsy connection is a recipe for disaster.
Selecting appropriate wall hooks or anchors is also essential, as these must be chosen based on the weight of your artwork and the type of wall, be it drywall or plaster.
For added convenience, consider investing in a picture hanging kit, which offers various hardware options to accommodate different pieces and wall types, guaranteeing maximum stability for your textured treasures.
The Appeal in Modern Decor
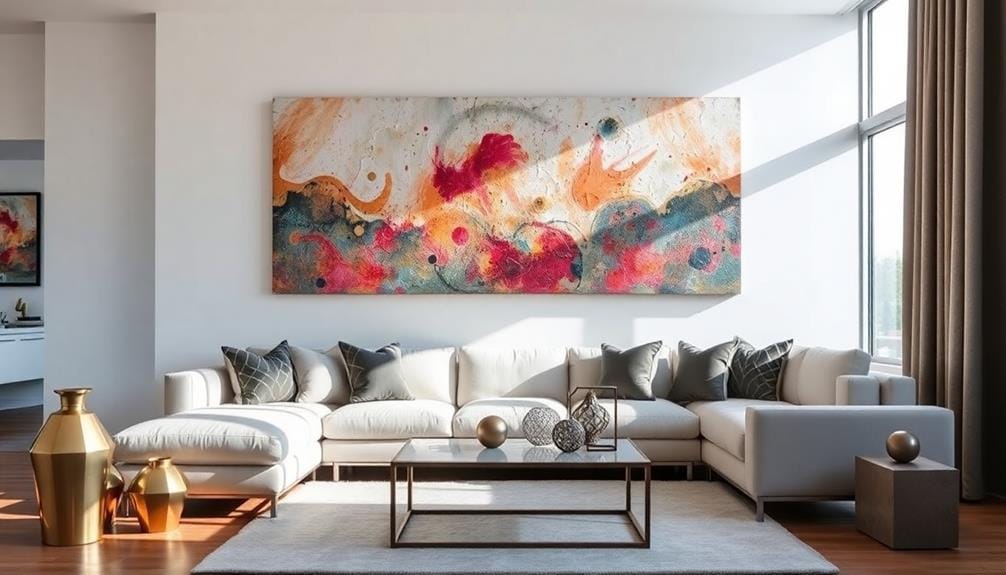
Textured canvas art brings an invigorating depth to modern decor, transforming ordinary walls into enchanting focal points. By introducing physical dimensionality, it enhances visual interest and engagement in your living space, ensuring your walls aren't just blank canvases but storytellers of style.
Imagine the possibilities with unique surface topographies created from natural and inorganic materials like sand, plaster, and fabrics that can seamlessly complement a variety of decor styles.
Consider the appeal of textured art as it embraces techniques such as impasto and collage, which allow artists to craft depth and contrast. This versatility makes textured pieces perfect for personal retreats or lively living areas, where they can infuse energy and character.
And let's not forget how incorporating calming natural hues contributes to tranquility and aesthetic joy—who wouldn't want a little zen amid their daily hustle?
Here are some reasons why textured canvas art is the star of modern decor:
- Visual Engagement: The physical elements create a mesmerizing experience for viewers.
- Versatility: It fits effortlessly into various decor styles, from minimalist to bohemian.
- Tactile Experience: The textures invite touch, adding a sensory dimension to your walls.
- Energy Infusion: Textured pieces act as sculptural elements, energizing spaces.
- Maximized Wall Space: They cleverly utilize blank walls, enhancing the overall decor experience.
In a world where decor often feels flat, textured canvas art stands out, proving that even walls can have personality.
Creative Ideas for Textured Art
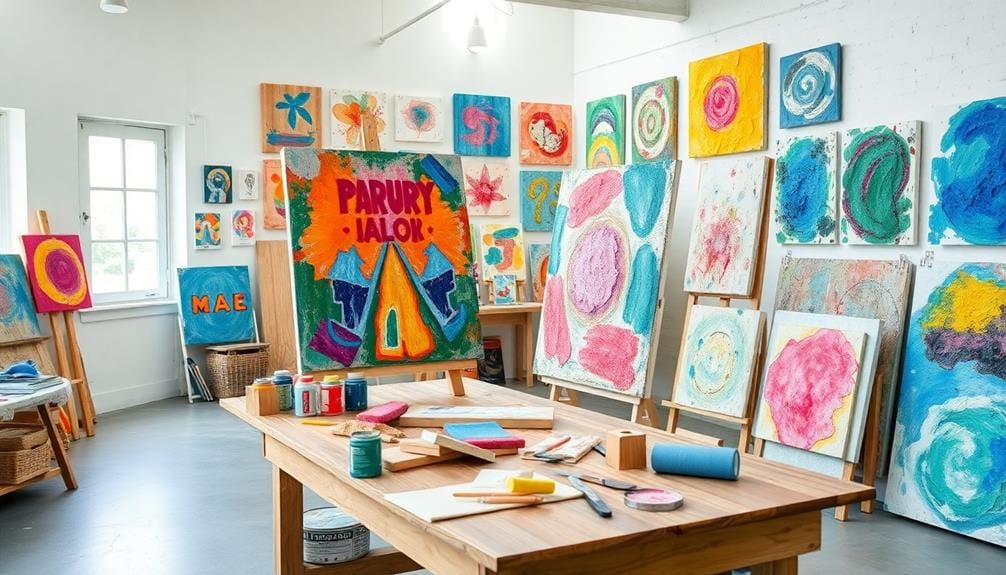
Imagine walking into a room where the walls seem to come alive with texture and depth. You might wonder how to infuse your own space with this enchanting art form. Textured canvas art is your answer, combining various materials like sand, plaster, and fabrics to create unique tactile experiences. Techniques such as impasto and collage allow you to layer thick paint, embedding objects for added depth.
Consider integrating natural elements like twigs and leaves or textiles like burlap and lace to enhance visual appeal. Using tools such as palette knives, sponges, and custom stamps can facilitate diverse texture applications, enabling you to explore various patterns and grooves in your work. Don't forget about finishes; combining matte and glossy elements within your artwork creates striking contrasts that enhance the overall aesthetic.
Here's a handy table to inspire your creative journey:
| Material | Technique | Finish Type |
|---|---|---|
| Sand | Impasto | Matte |
| Plaster | Collage | Glossy |
| Twigs | Layering | Matte & Glossy |
| Burlap | Texturing | Mixed |
Final Thoughts
Incorporating textured canvas art into your home is like planting a garden; each piece nurtures a unique vibe, inviting curiosity and conversation, much like flowers drawing in bees. As you explore the myriad materials and techniques, you'll find that these artworks can transform a mundane wall into an enchanting landscape, brimming with dimension and depth. So, go ahead and release your creativity—your walls are waiting for their own stories to be told, one texture at a time. At VerVeLush, we specialize in exquisite textured canvas prints that elevate your decor and offer a diverse range of styles to suit any aesthetic. Discover how our expertly crafted pieces can bring your walls to life and enhance the atmosphere of your space.


