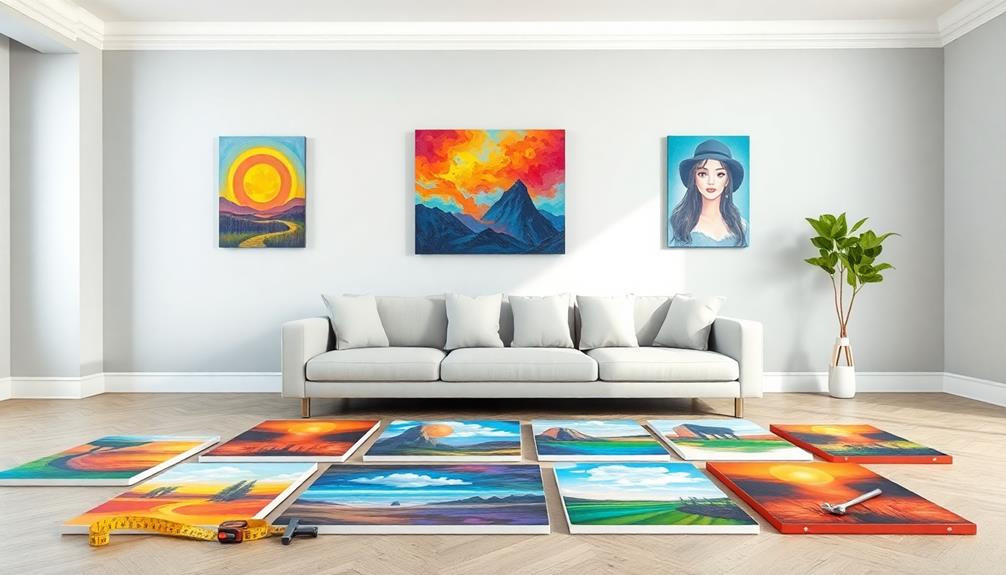
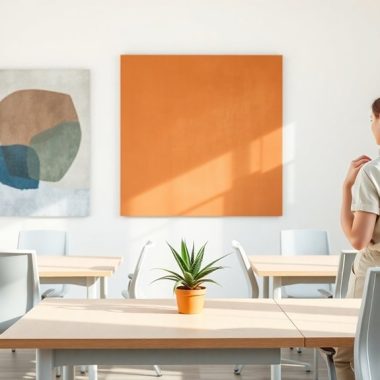
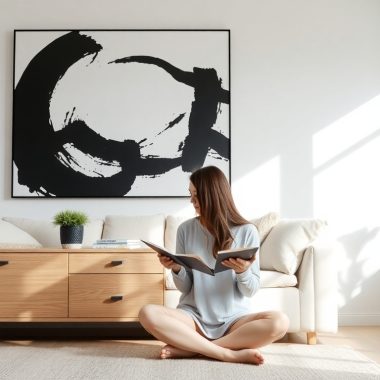
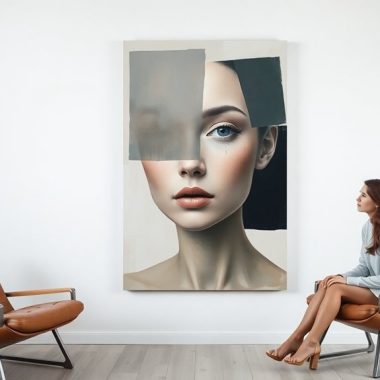
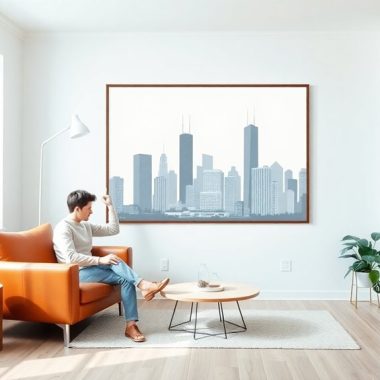
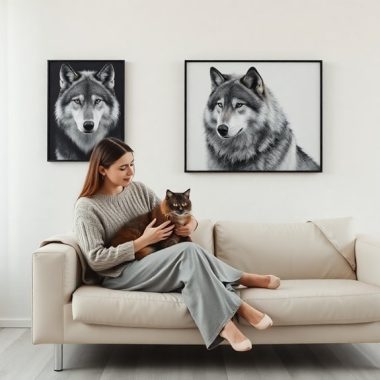
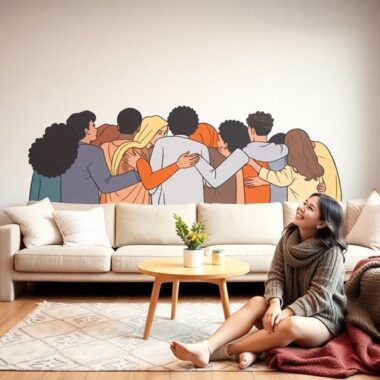
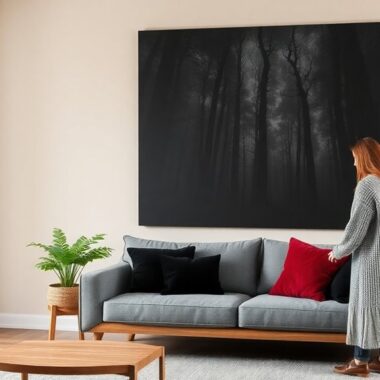
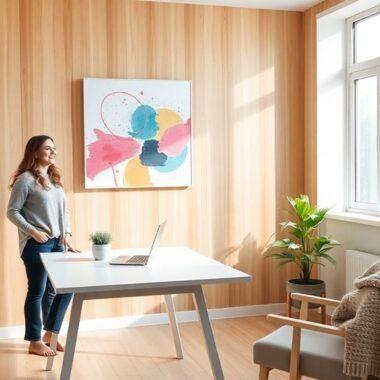
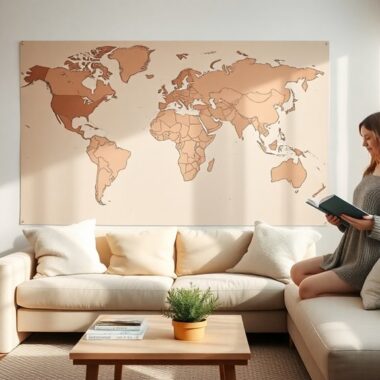
To arrange a gallery wall with canvas art, start by gathering a diverse collection that showcases your personal style. Plan your layout using painter's tape on the wall and experiment with different arrangements on the floor. Hang the largest piece first at eye level (around 57 inches), then fill in with smaller pieces, maintaining 3 to 6 inches of spacing. Blend various shapes and textures for visual interest while ensuring the colors complement each other. Use tools like 3M Command Strips for lighter pieces. With these tips, your wall will not only reflect your identity but invite exploring each unique piece.
Gather Your Art Collection
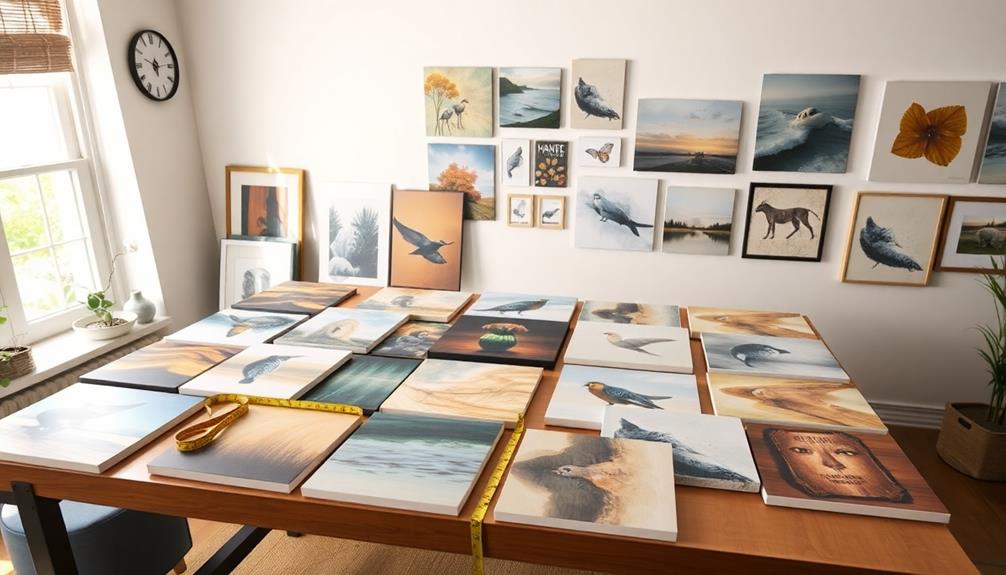
To create a stunning gallery wall, you'll want to start by gathering a diverse range of canvas art pieces that truly reflect your personal style. Think about mixing colors, sizes, and themes to achieve an eclectic yet cohesive look. Large canvas wall art can serve as a focal point, drawing the eye and setting the tone for the entire arrangement.
When selecting pieces, don't forget to incorporate family photos or meaningful personal artifacts. These elements not only enhance the uniqueness of your gallery wall canvas but also add emotional resonance.
Next, consider the visual harmony in your collection. Aim for a unified color palette by selecting canvas art wall art that shares similar tones and intensities. This doesn't mean everything has to match perfectly; rather, the pieces should complement each other in a way that creates a balanced aesthetic.
To display your collection effectively, use wall collage frames designed for canvas art. These frames can help maintain a streamlined appearance while showcasing multiple pieces.
Lastly, before you start hammering nails into your wall, take a moment to plan your arrangement. Utilizing kraft paper templates allows you to visualize and test different layouts without committing to anything just yet. It's a practical way to experiment with spacing and placement, ensuring your gallery wall will look amazing when it's finally up.
With careful planning and a diverse collection, you're well on your way to creating an impressive display that represents you.
Plan Your Layout
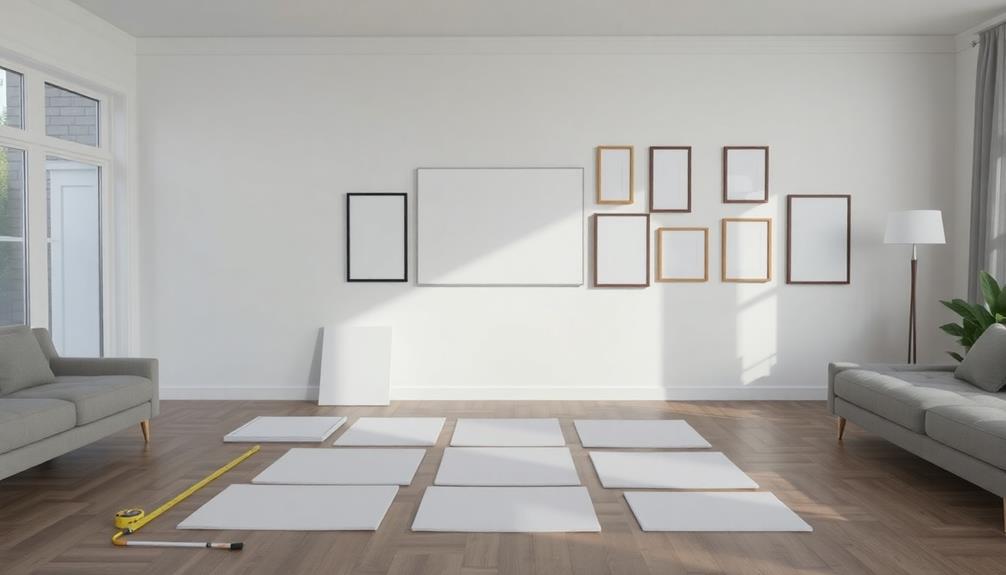
How can you guarantee your gallery wall looks balanced and inviting? Start by measuring your wall space, ensuring you know how much room you have to work with. A great tip is to use painter's tape to outline the arrangement you envision. This will help you visualize the layout before committing to any holes in the wall.
Next, lay out your canvas art pieces on the floor. This allows you to play around with different arrangements and orientations, ensuring a balanced distribution of colors and sizes. An effective strategy is to utilize kraft paper to trace each canvas's dimensions. You can create templates that can be taped to the wall, letting you test placements without any permanent commitment.
When you're ready to hang, start with the largest canvas piece as your anchor point. Position it at eye level—around 57 inches from the ground—before filling in the surrounding spaces with smaller pieces. This approach creates a focal point that draws attention.
Maintain Even Spacing
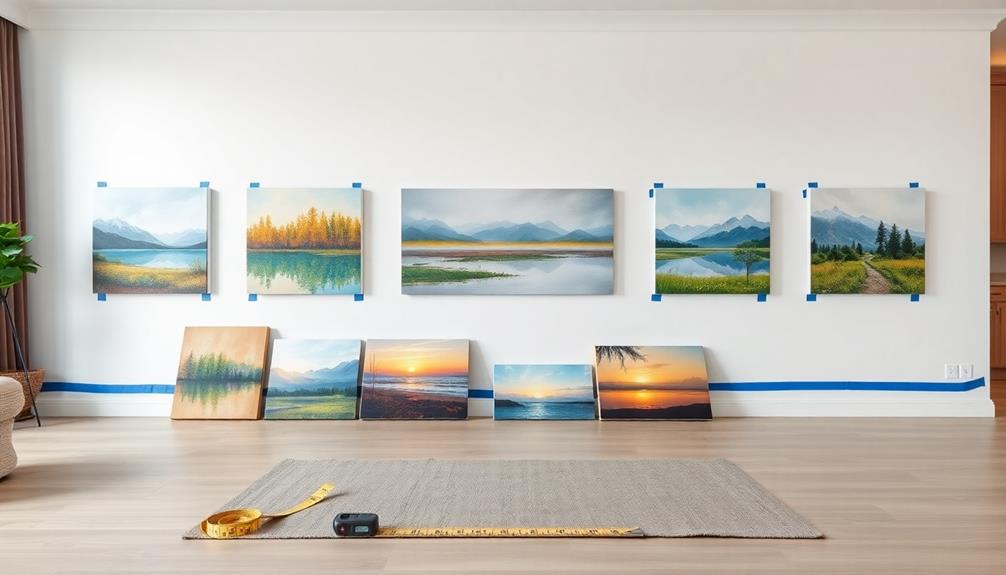
Maintaining even spacing between your canvas art pieces is essential for creating a cohesive gallery wall. A consistent spacing of 3 to 6 inches between each piece helps guarantee visual harmony and prevents the wall from feeling overcrowded.
If you're working with larger artworks, consider increasing the distance between them. This not only avoids overwhelming the viewer but also enhances each piece's impact, allowing them to shine individually.
To achieve that perfect spacing, grab a ruler and measure those intervals as you arrange your art. Marking consistent points on the wall will help keep everything uniform, making your gallery wall look polished and intentional.
Using a level is another important step. It guarantees that every piece hangs straight, which contributes to that neat, cohesive appearance you're aiming for. A crooked piece can throw off the entire arrangement, so take a moment to double-check.
Additionally, don't forget to leave ample space between the edges of the frames and the wall. This breathing room helps the artwork stand out and creates a more inviting atmosphere.
A little distance can go a long way in making your wall feel open and airy, rather than cramped.
Achieve Visual Balance
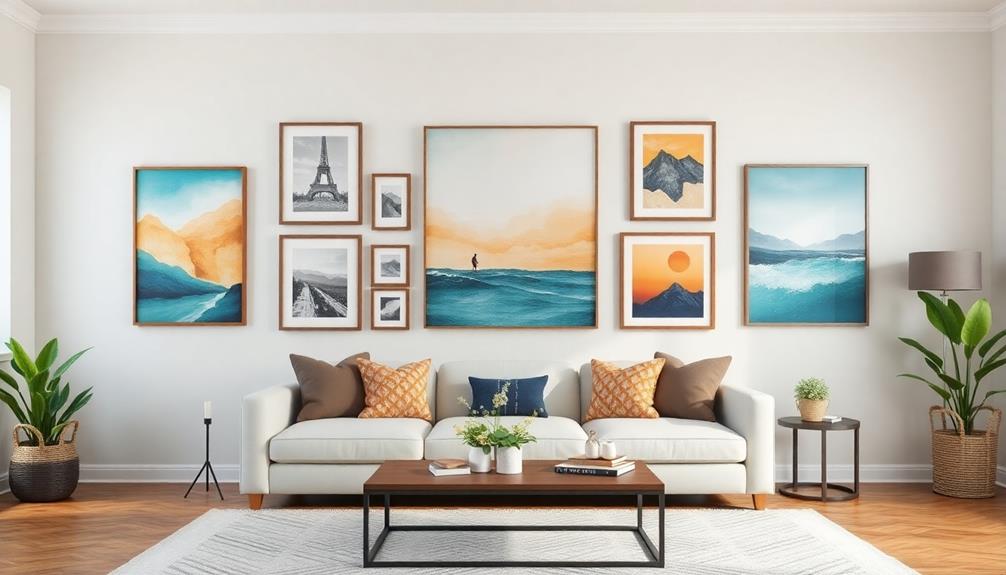
To achieve visual balance on your gallery wall, think about how you pair different sizes of canvas art. Mixing larger pieces with smaller ones not only creates contrast but also keeps the viewer engaged without feeling overwhelmed.
Additionally, don't forget to distribute colors and textures evenly, and use negative space strategically to give your arrangement room to breathe.
Pairing Sizes Effectively
When arranging a gallery wall, achieving visual balance starts with selecting a large canvas as your focal point, ideally hung at eye level. Aim for a size that commands attention, like 24×36 inches. Surround this centerpiece with medium (16×20 inches) and smaller pieces (8×10 inches) to create a harmonious composition. This mix prevents your wall from feeling top-heavy and maintains an engaging flow.
To enhance visual harmony, keep a consistent spacing of 3-6 inches between your artworks. This distance allows viewers' eyes to travel smoothly across the arrangement without feeling cluttered. You might opt for a grid layout for uniformity or an asymmetrical arrangement that balances larger pieces with clusters of smaller canvases, adding interest without overwhelming the space.
Don't hesitate to experiment with layering techniques; placing smaller canvases in front of larger ones can introduce depth and dimension to your wall. This approach not only optimizes wall space but also creates a dynamic visual experience that draws attention.
Color Distribution Strategies
Achieving a well-arranged gallery wall goes beyond just size; color distribution plays a significant role in creating visual balance. To establish harmony, aim to distribute colors evenly across the wall, ensuring no area feels too heavy or overwhelming.
A great starting point is using a color wheel. By selecting complementary or analogous colors, your pieces will enhance each other, resulting in a cohesive look.
Remember the 60-30-10 rule for color distribution. This means 60% of your wall should feature a dominant color, 30% a secondary color, and just 10% an accent color. Maintaining this ratio helps achieve an aesthetically pleasing arrangement.
Also, limit bold, saturated colors to a maximum of 20% of your overall display; this keeps the focus on the wall composition rather than distracting from it.
Regularly stepping back to evaluate your work is essential. Viewing the arrangement from different angles allows you to see how well the colors are spread and whether they balance effectively.
With these strategies in mind, you'll be well on your way to creating a gallery wall that not only looks great but feels harmonious too.
Incorporating Negative Space
Incorporating negative space into your gallery wall design creates visual balance and allows the eye to rest between pieces, preventing a cluttered look. Aim to leave at least 20-30% of the wall area free from artwork. This not only enhances the impact of your displayed pieces but also makes the entire arrangement more inviting.
To achieve harmony, strategically place larger art pieces or lighter colors among smaller or darker works. This careful positioning helps prevent overcrowding and draws attention to the most significant pieces. Maintaining consistent gaps of 3-6 inches between frames is essential; these spaces will help preserve that necessary negative space while promoting a cohesive arrangement.
Another creative approach is to use empty frames or decorative elements as intentional negative space. This technique not only enhances the visual flow but also directs focus toward the surrounding artwork.
Incorporate Diverse Shapes
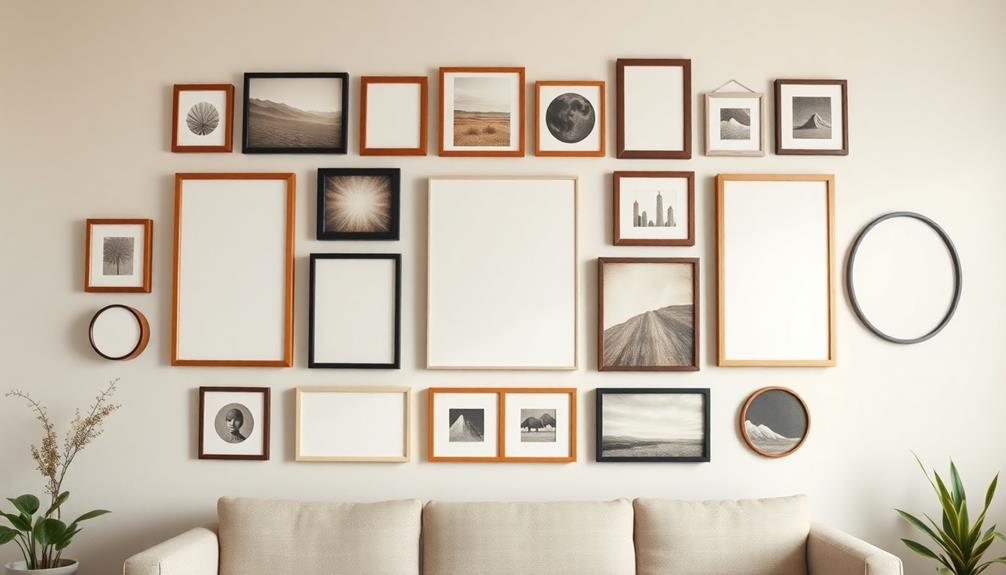
Often, mixing diverse shapes like square, rectangular, oval, and round canvas art can transform your gallery wall into a dynamic focal point. When you incorporate a variety of shapes, you create a visually engaging display that captures attention and invites viewers to explore each piece.
Consider introducing woven or fabric elements alongside traditional canvas to add depth and richness to your arrangement.
Using different sizes of canvas art is key. Larger pieces can act as striking focal points, while smaller pieces can fill gaps and balance the overall display. This strategic mix enhances the impact of your wall, making it cohesive yet exciting.
Before you start hanging, take the time to plan your layout. This preparation guarantees that the varying shapes work harmoniously together, rather than competing for attention.
Don't be afraid to experiment! Try layering or angling your canvases slightly. This technique can break the monotony and highlight the unique shapes you've chosen. You might find that a slight tilt adds an unexpected charm to the arrangement.
Ultimately, the goal is to create a gallery wall that reflects your personal style while remaining visually stimulating. By thoughtfully incorporating diverse shapes and sizes, you'll craft a space that's not only beautiful but also a conversation starter.
Choose Framing Options
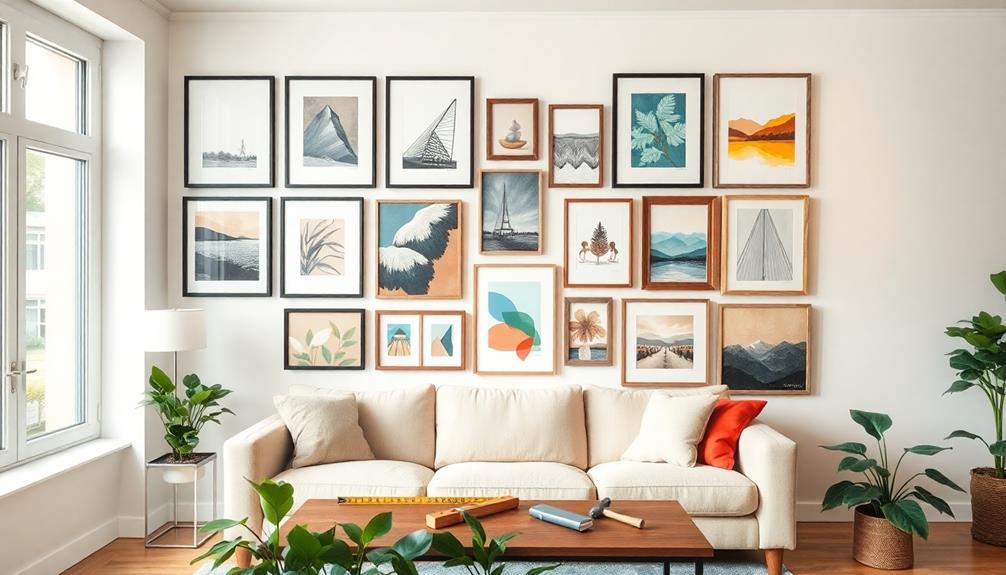
After you've arranged your diverse shapes and sizes, it's time to contemplate how framing can improve your gallery wall. The right frame can greatly raise your artwork, adding depth and visual interest. One popular option is the floater frame, which gives the illusion that your canvas is floating within it. This not only looks striking but also creates a sense of space.
When choosing frames, keep these tips in mind:
- Match the Style: Select frames that complement the color palette and style of your art. For modern pieces, sleek black or white frames work wonders, while distressed wood frames lend a cozy, rustic vibe.
- Consider Depth: Use shadow box frames to create a three-dimensional effect. This allows your canvases to stand out from the wall, providing a unique presentation that draws the eye.
- Mix and Match: Don't hesitate to combine framed and unframed canvas pieces. This adds texture and variety, creating a dynamic visual narrative that keeps viewers engaged.
Make sure the frame size is appropriate for your canvas. Standard sizing for gallery-wrapped canvases is about 1.5 inches in depth, which can influence your frame choice.
Install With Precision
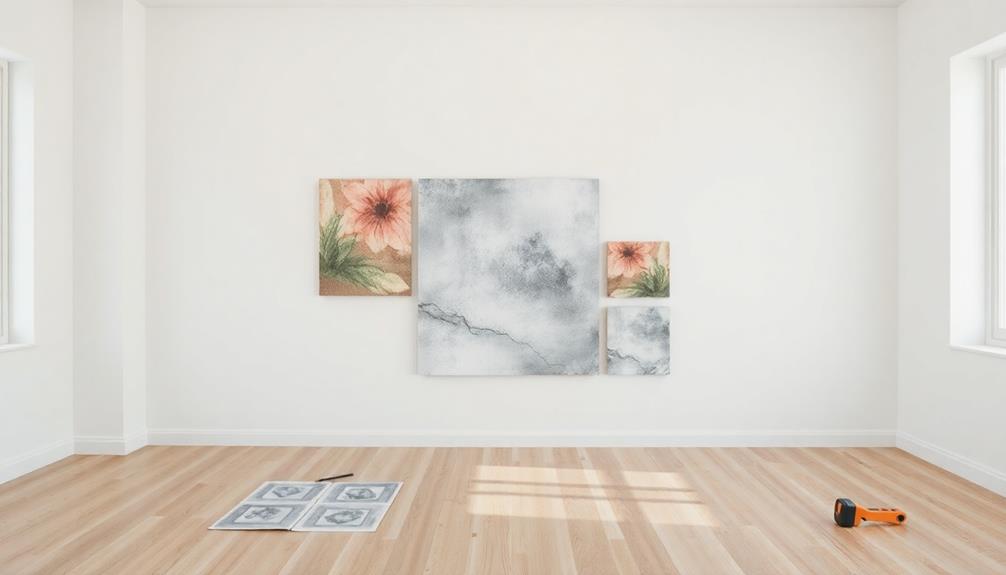
When it comes to installing your canvas art, precision is key.
Start by measuring and marking where each piece will hang, aiming for that sweet spot of 57-60 inches from the floor for the center.
Don't forget to use proper hanging tools and maintain consistent spacing; this helps create a balanced and visually appealing gallery wall that truly showcases your collection.
Measure and Mark Carefully
Begin by measuring and marking your wall with precision to secure a flawless gallery display. Start by determining the ideal height for your artwork—aim for the center to be between 57-60 inches from the floor for the best viewing. Grab a measuring tape and make certain to mark your wall with a pencil or masking tape, outlining where each piece will go. This step is vital for accurate placement and alignment.
To create a balanced layout, keep these tips in mind:
- Maintain a consistent spacing of 3-6 inches between each canvas to enhance visual appeal.
- If you're using multiple pieces, consider starting with the largest canvas as an anchor point to guide your arrangement of smaller artworks around it.
- Use a level to verify each piece is hung straight, preventing any crooked displays that could disrupt the overall aesthetic.
Taking the time to measure and mark carefully sets the stage for a stunning gallery wall. Your efforts will pay off as you step back and admire a perfectly arranged collection that reflects your unique style and personality.
Use Proper Hanging Tools
With your wall measured and marked, it's time to focus on the right tools for hanging your canvas art. For lighter pieces, 3M Command Strips are your best friend. They offer a damage-free solution, securely adhering to the wall without leaving marks behind. Just make sure to follow the instructions closely for ideal results.
For heavier canvas art, you'll need wall anchors or screws. These provide a stable support structure, preventing any sagging or potential falls. Trust me, you don't want your masterpiece crashing down!
Always use a level when hanging your pieces. Even the slightest misalignment can disrupt the visual harmony of your gallery wall. You want everything to look just right.
Before installation, confirm the top of your canvas art is approximately 57 inches from the floor for ideal eye-level viewing. This height makes your artwork more engaging and accessible.
If you prefer flexibility, consider using adhesive strips designed specifically for canvas. They allow for easy repositioning, so you can tweak your arrangement until it feels perfect.
Adjust for Visual Balance
Achieving visual balance is essential for a stunning gallery wall, so start by hanging the largest piece first at eye level—about 57 inches from the floor. This sets a solid visual anchor for your arrangement.
Once that's in place, think about how to distribute your remaining pieces. To maintain harmony and avoid a cluttered look, keep a consistent spacing of 3-6 inches between each canvas. This creates a fluid flow that's pleasing to the eye.
You'll also want to use a level during installation to verify each canvas hangs straight; a slight tilt can disrupt the balance you're aiming for.
Consider these key factors as you arrange:
- Color Distribution: Mix colors throughout to create contrast and keep the viewer's eye engaged.
- Shape Variety: Incorporate different shapes and sizes for visual interest.
- Step Back Regularly: Assess your arrangement from various angles to make necessary adjustments.
Personalize Your Display
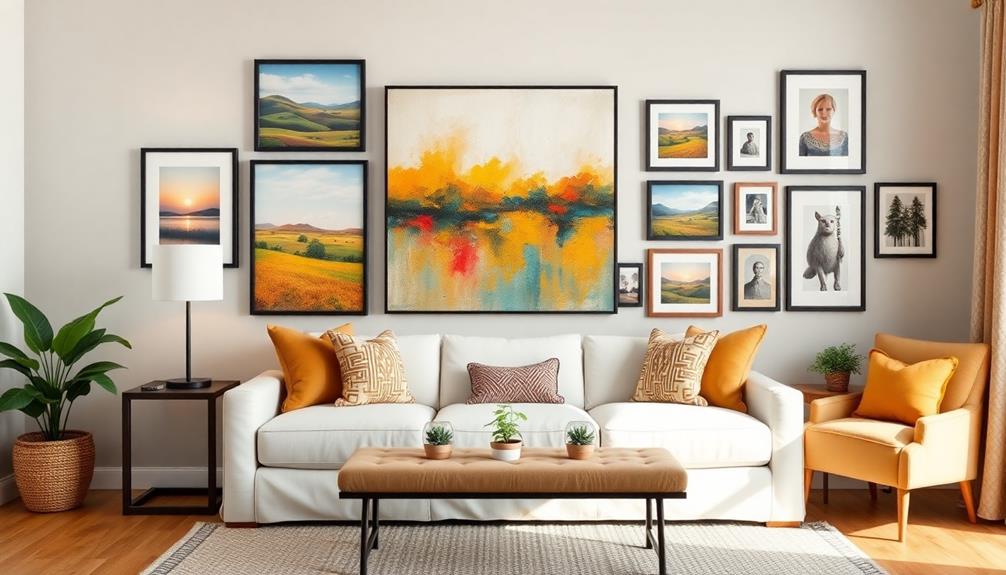
How can you transform a simple gallery wall into a meaningful showcase of your life? Personalization is key. By incorporating items that resonate with you, you'll create a rich mosaic of memories and experiences. Start by adding family photos, children's artwork, or sentimental artifacts. These pieces enhance the emotional connection of your gallery wall, making it uniquely yours.
To help you visualize your options, here's a handy table:
| Item Type | Purpose |
|---|---|
| Family Photos | Capture moments and shared experiences |
| Children's Artwork | Celebrate creativity and family milestones |
| Sentimental Artifacts | Showcase personal history and cherished items |
| Digital Prints | Represent your interests and travels |
| Custom Illustrations | Add layers of personal storytelling |
Next, choose a cohesive color palette that reflects your personal style. Aim for similar tones across your canvas art to create harmony. This consistency will help tie all elements together, enhancing the overall aesthetic.
Don't forget to frame personal artifacts like letters or memorabilia. They not only add depth but also create a deeper sense of identity. And remember, your gallery wall isn't static. Regularly rotate or update pieces to keep it fresh and reflective of your evolving tastes.
Final Thoughts
Arranging a gallery wall with canvas art can seem intimidating, but it's all about your personal touch. Don't worry if your collection doesn't seem cohesive at first; creativity thrives on variety! By following these tips, you'll create an engaging display that reflects your unique style and makes your space feel inviting. Embrace the process, and remember, it's perfectly okay if it doesn't turn out "perfect." What matters most is that you enjoy the artwork around you every day. If you're looking to enhance your collection, VerVeLush offers a stunning selection of canvas prints and art pieces that can help elevate your gallery wall. With our expertise in art and a diverse range of styles, you'll find the perfect pieces to truly make your display shine.

