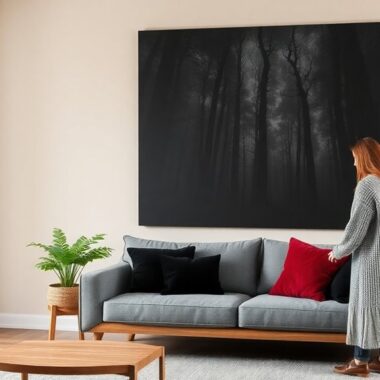
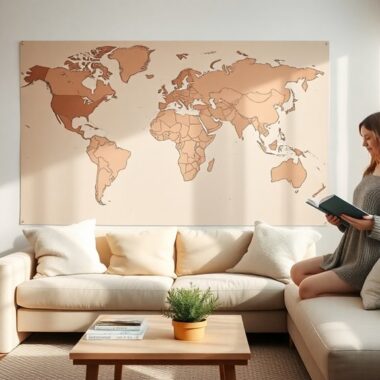
Hanging canvas art can truly enhance your space, yet ensuring proper placement is essential. Start by positioning your artwork at eye level—around 57-60 inches—to engage viewers effectively. Center your canvas above furniture with 8-10 inches of space for balance, and remember to maintain a consistent 2-5 inches between smaller pieces grouped together. Use tools like a spirit level for accuracy and a measuring tape to avoid those dreaded crooked displays. Don't forget to reflect on the impact of lighting on your canvas' vibrancy! There's much more to uncover about this fascinating topic to improve your homeowner's journey.
Importance of Proper Placement
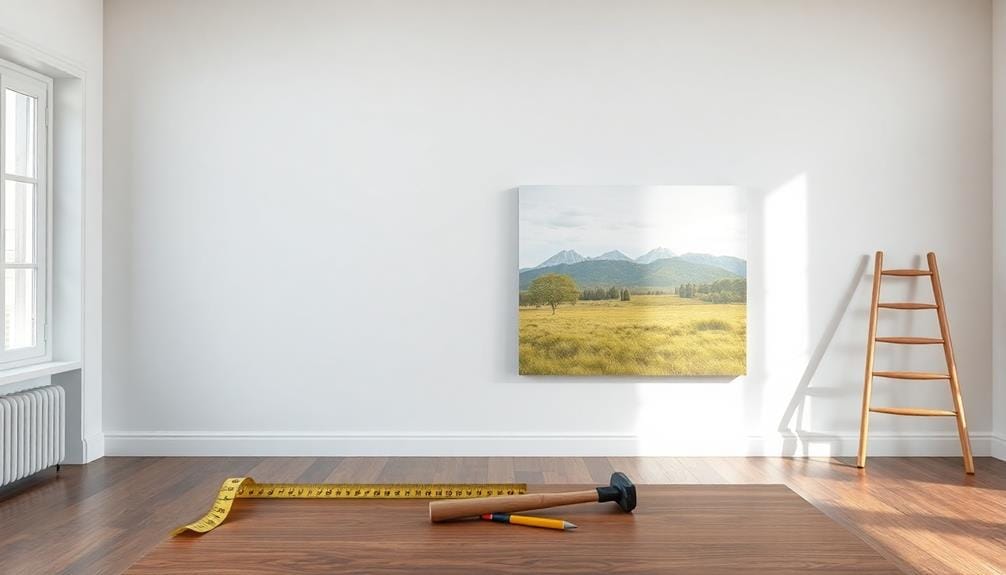
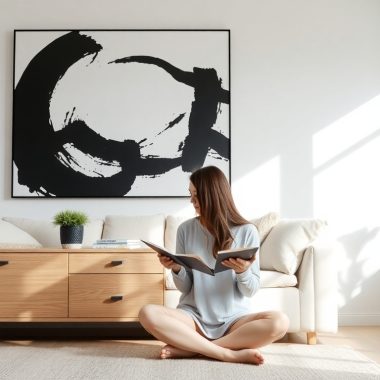
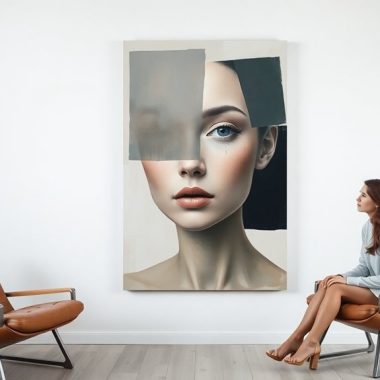
When it comes to hanging canvas art, proper placement is essential for maximizing its impact. Think about it: you wouldn't want your stunning canvas wall art to be overlooked or awkwardly positioned, right? Aim to hang your artwork at eye level, typically around 57-60 inches from the floor. This height allows viewers to engage with the piece comfortably, ensuring they can appreciate the intricate details and colors you chose.
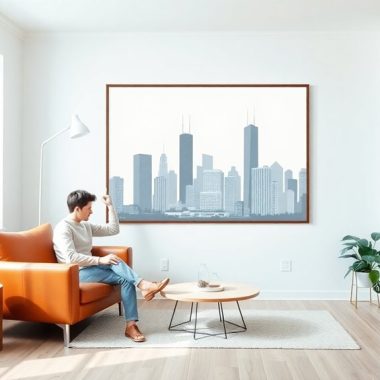
Centering your canvas wall art above furniture is another important tip. Leaving about 8-10 inches of space creates a balanced aesthetic that seamlessly integrates the artwork with the room's decor, making it feel intentional rather than an afterthought. In rooms boasting high ceilings, larger art pieces can effectively fill vertical space, preventing them from appearing dwarfed by their surroundings.
If you're considering how to hang canvas art on a wall in a more dynamic way, grouping smaller canvases together can form a cohesive gallery wall. Just remember to maintain consistent spacing of 2-5 inches between each piece; this unifies the display and adds a touch of elegance to your wall decor artwork.
Lastly, try to avoid leaving large empty spaces above furniture or in open areas, as engaging wall space adds character and visual interest to your room.
Essential Tools for Success
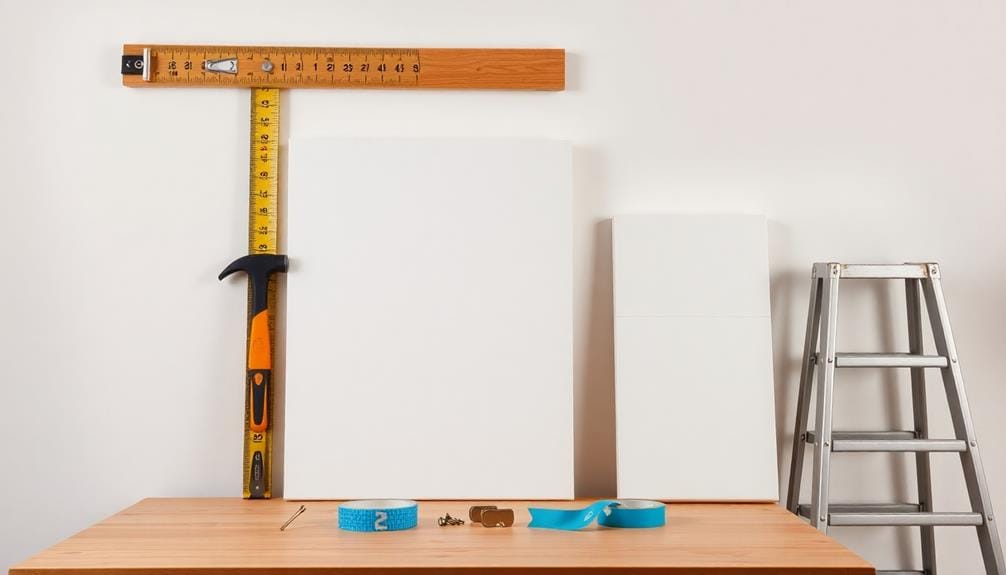
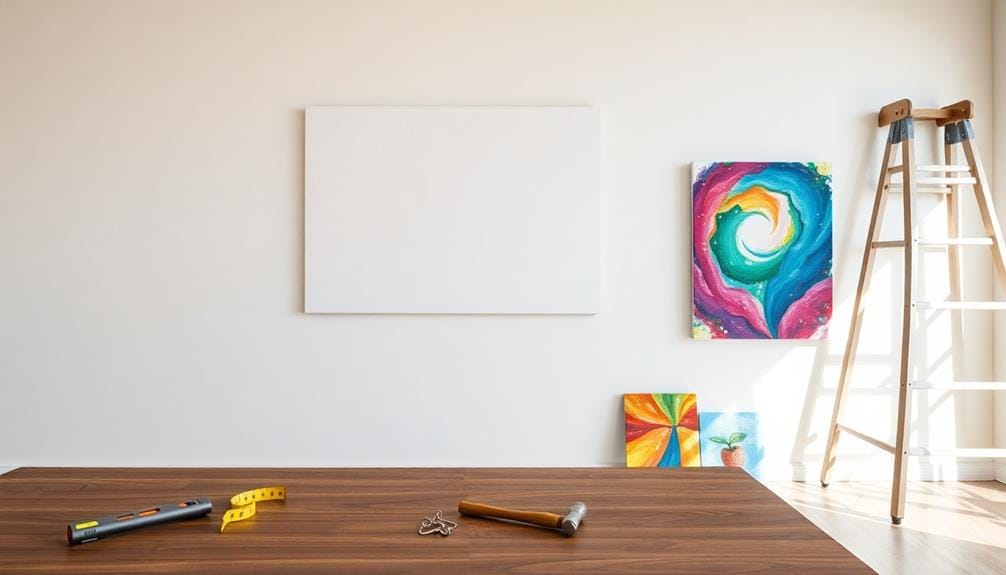
To achieve a flawless canvas art display, having the right tools at your fingertips is fundamental. First and foremost, a pencil will be your best friend, allowing you to mark precise measurements and center points on your wall before you even think about hanging that masterpiece.
Next, a spirit level is a must; this handy tool guarantees your artwork hangs straight, preventing any visual misalignment that could detract from its overall aesthetic appeal—because let's face it, no one wants to live with a crooked canvas.
When it comes time to secure your art, a hammer is indispensable for driving nails or hooks into the wall, but remember, selecting the right type of nail or hook based on the size of your canvas is essential for stability—after all, you wouldn't want your art to take an unexpected plunge!
A measuring tape or ruler will help you achieve accurate spacing and alignment, particularly important when you're hanging multiple pieces to maintain a cohesive look that dazzles the eye.
Lastly, don't underestimate the utility of a screwdriver, which can be quite handy for securing D-rings or other hanging hardware to the back of your canvas, guaranteeing it's properly supported.
With these fundamental tools, you'll be well on your way to creating a stunning display that not only showcases your artistic taste but also brings a delightful charm to your space, all while avoiding the common pitfalls of poorly hung art.
Selecting the Right Canvas
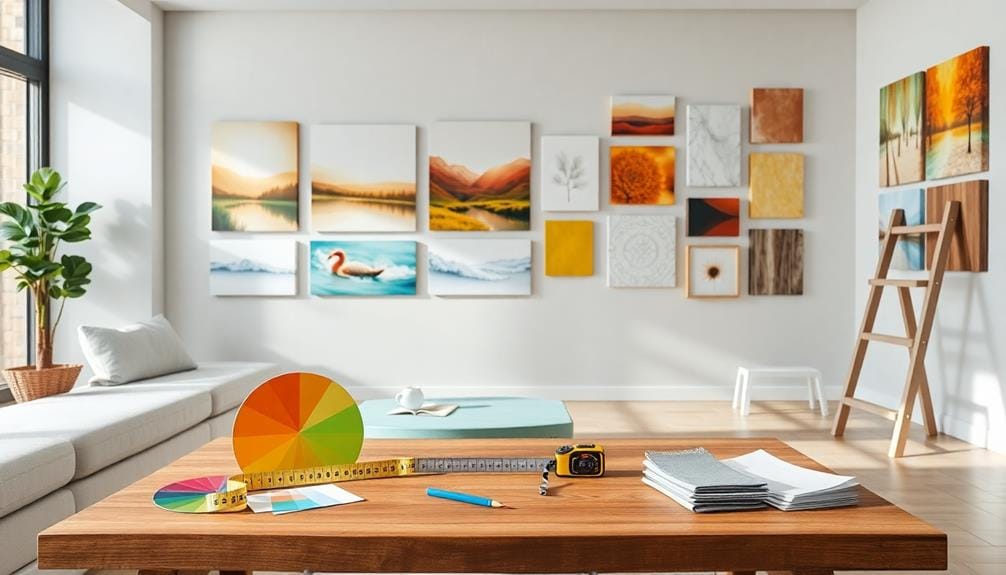
Selecting the right canvas is vital for achieving a harmonious decor that speaks to your style and enhances your space. When diving into the world of canvas art, it's important to take into account several factors that can raise your environment from ordinary to extraordinary.
- Size Matters: Choose a canvas size that complements your wall's dimensions. Larger pieces can make a bold statement, drawing attention, while smaller canvases work beautifully as accents, adding subtlety without overwhelming the room.
- Type of Canvas: Reflect on whether you prefer stretched or un-stretched canvas. Stretched canvases are ready to hang and often come with a sleek finished edge, while un-stretched canvases may require framing but can offer a more unique aesthetic.
- Color Coordination: Select colors that harmonize with your existing decor. This creates a cohesive aesthetic—think of it as dressing your wall in its best outfit. If your room has a serene vibe, bold colors might clash like socks with sandals at a formal event!
Moreover, evaluate the theme or subject matter of the artwork to ascertain it resonates with you personally and aligns with the room's purpose.
Whether you're drawn to abstract pieces that provoke thought or serene landscapes that calm the spirit, your choices should reflect your individuality.
Measuring and Marking Techniques
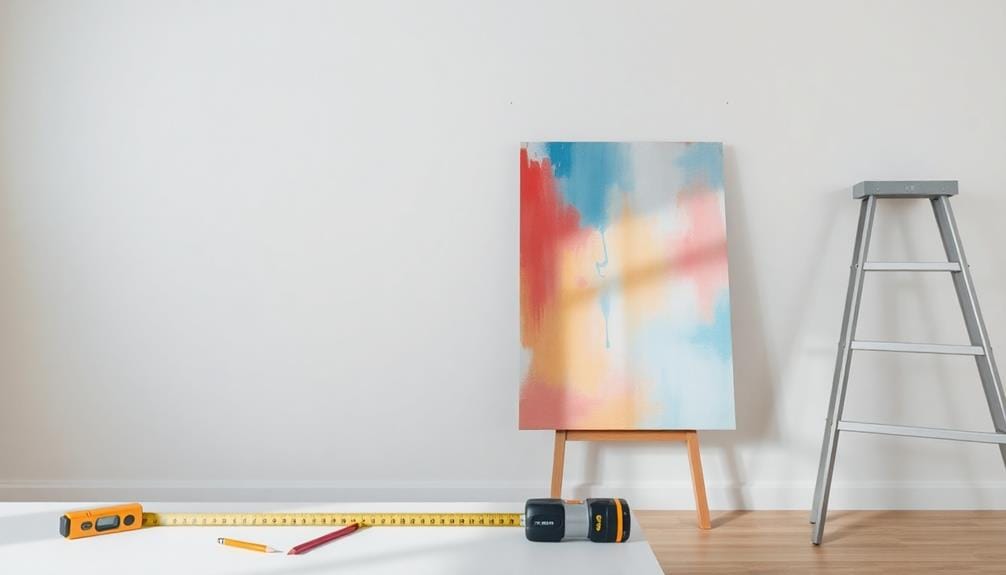
Achieving the perfect placement for your canvas art starts with precise measuring and marking techniques. To guarantee your artwork is visually pleasing, you'll want to begin by measuring the height of your wall, aiming for the center of your piece to hover around 57-60 inches from the floor—this height is considered ideal for eye-level viewing. Trust me, no one wants to strain their neck just to admire your beautiful canvas.
Next, grab a measuring tape and find the center point of your wall. This step is essential, as it allows for a symmetrical arrangement that enhances visual balance. If you're hanging multiple canvases, keep a consistent spacing of 2-5 inches between each piece; this spacing creates a cohesive display that's more pleasing to the eye than a chaotic jumble of art.
Once you've identified the desired height, mark the top of the canvas lightly with a pencil. With a level in hand, draw a faint horizontal line as your guide.
For those who appreciate precision, measure the height of your canvas, divide it by two, and add 57 inches to determine the perfect top placement according to museum guidelines. This little math trick guarantees that your art will be both aesthetically pleasing and strategically positioned.
Popular Hanging Methods
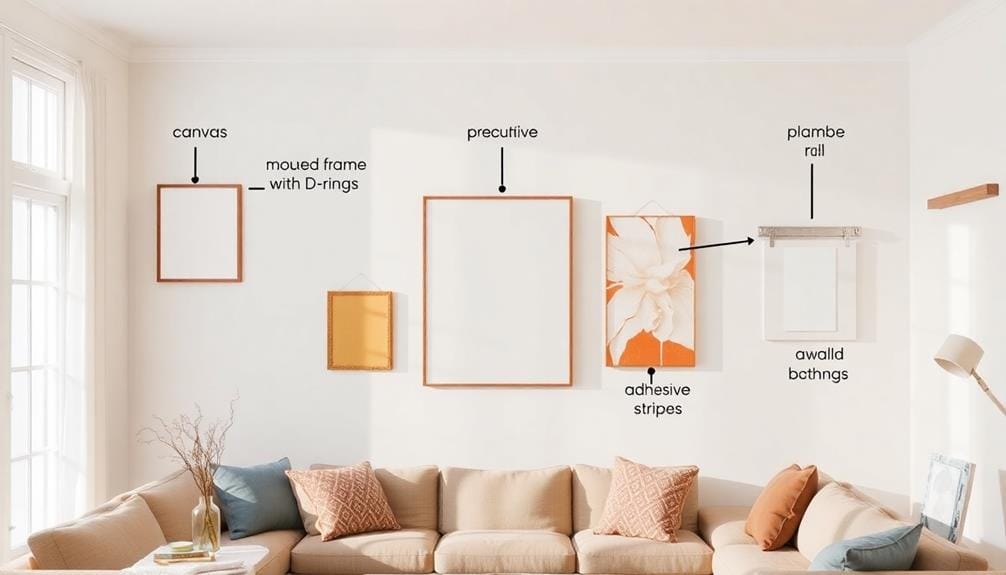
When it comes to hanging your canvas art, choosing the right method is crucial for both aesthetics and stability. You wouldn't want your beloved artwork to take an unexpected plunge, would you?
Fortunately, there are several popular hanging methods that cater to various canvas sizes and weights, allowing you to display your art securely while maintaining its visual appeal.
- Nails: Ideal for small to medium canvases, nails come in various sizes, and selecting the right one based on your canvas's weight guarantees ideal support. Just remember, a nail that's too small is about as useful as a chocolate teapot!
- Sawtooth Brackets: These nifty little brackets provide stability and are typically attached to the back center of your canvas. They make hanging a breeze on a nail, giving you the freedom to adjust your artwork's position with ease, all while looking quite refined.
- D-rings: For larger canvases, D-rings are your go-to solution. They allow for adjustable hanging and require a picture wire threaded through them for secure support. This method not only prevents your canvas from wobbling but also grants you the flexibility to reposition it whenever the urge strikes.
For those who prefer damage-free options, adhesive strips are also available, supporting standard-sized canvases up to 16 pounds.
Final Adjustments and Maintenance
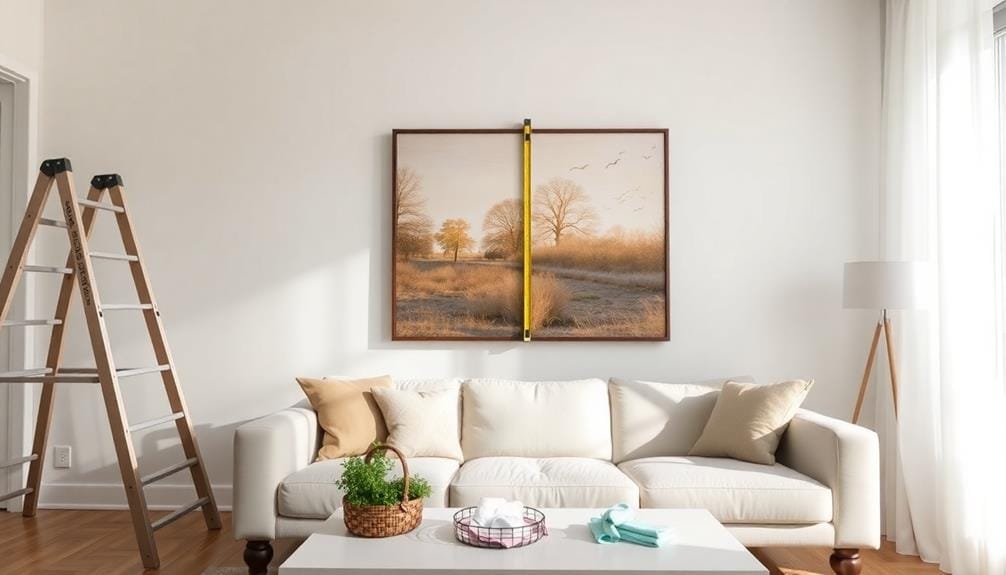
Once you've hung your canvas art, it's essential to guarantee it's level; after all, a crooked masterpiece can turn a gallery into a funhouse.
Regular maintenance checks not only keep your artwork secure but also guarantee the lighting remains just right, so colors pop rather than blend into the wall like a chameleon at a party.
And don't forget—your canvas deserves a little dusting now and then; after all, it's hard to shine when it's covered in dust bunnies!
Level for Alignment
When you notice a misalignment, don't panic; simply follow these steps:
- Check with a Level: Place the spirit level on top of your canvas to verify its horizontal alignment.
- Make Adjustments: If it's not level, gently lift the canvas and reposition it. Even minor shifts can dramatically enhance the overall look.
- Regular Maintenance: In high-traffic areas, it's wise to routinely check for bumps or shifts that could disturb the alignment.
Lighting Adjustments
After ensuring your canvas is level, the next step is adjusting the lighting to truly bring your artwork to life.
You'll want to modify the surrounding lighting to enhance the colors and intricate details of your piece, all while steering clear of direct sunlight that can lead to fading over time—think of it as a sunburn for your art!
Consider using adjustable lighting fixtures, such as wall sconces or track lights; these can create a delightful spotlight effect on the canvas, adding depth and focus that can transform a simple wall into a gallery-worthy display.
Don't forget the color temperature of your bulbs: warmer tones can create a cozy ambiance, while cooler tones may highlight the vibrant colors in your artwork, making it pop like a surprise party for your eyes.
As you admire your newly lit masterpiece, keep an eye out for any shadows cast by furniture or other objects that might obstruct the view.
Adjust placement or lighting as needed, and periodically reassess your setup as seasons change, since natural light levels can greatly alter how your artwork is perceived throughout the year.
Regular Maintenance Checks
To keep your canvas art looking its best, regular maintenance checks are essential. It's not just about hanging it up and forgetting it; your artwork deserves a little TLC.
Here are key points to reflect upon during your maintenance routine:
- Check the Hardware: Regularly inspect the stability of the hanging hardware to confirm it remains securely fastened to the wall. A loose hook could lead to an unceremonious fall, and trust me, you don't want to explain that to your masterpiece.
- Keep It Level: Use a spirit level periodically to verify that your canvas remains straight. Walls settle, and maybe even your sanity—who knows? A slight tilt can detract from your art's elegance, so make sure it stays true to form.
- Dust and Shine: Gently dust the canvas surface with a soft cloth to prevent dirt buildup. Just like you wouldn't want to wear a dusty sweater to a party, your art deserves to be showcased without grime.
Creative Display Ideas
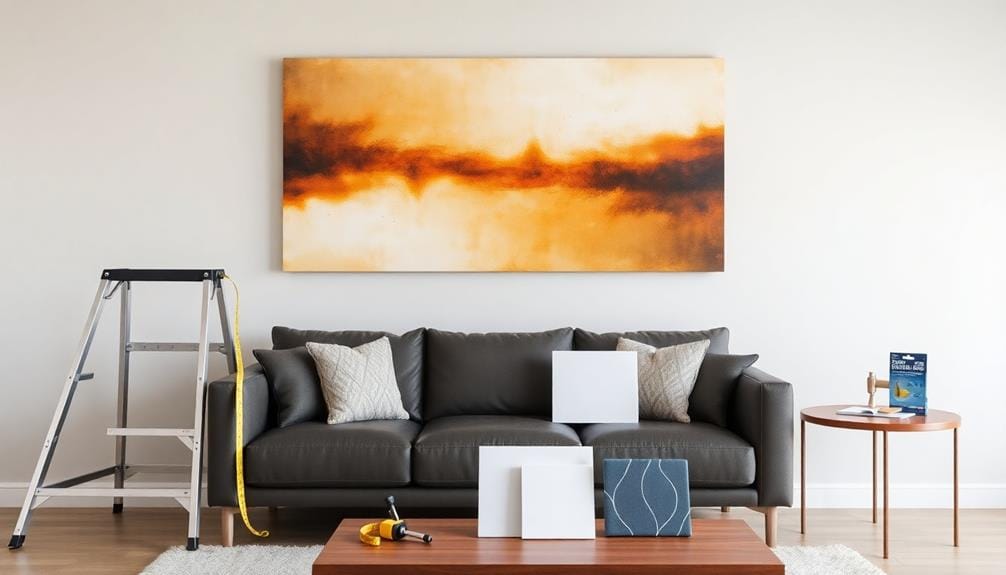
Your canvas art deserves a stunning display that captures attention and enhances your space. One delightful approach is to create a gallery wall, where you can group smaller canvases of varying sizes and orientations. By maintaining a consistent spacing of 2-5 inches between each piece, you'll achieve a cohesive look that feels intentional and organized.
If symmetry is your style, consider the grid method, which allows you to align canvases in a balanced arrangement, placing the center at eye level—typically 57-60 inches from the floor, making it easy for guests to appreciate your work.
For a more dynamic visual impact, experiment with a salon-style arrangement. This involves mixing canvases with different themes, colors, and frame styles, resulting in an eclectic display that reflects your personality and creativity.
And hey, if you're feeling adventurous, you can use floating shelves to showcase your canvases at various heights, allowing for easy swapping and rearranging of artwork without the commitment of additional wall damage.
Don't forget about lighting; incorporating picture lights or wall sconces can greatly enhance the visual appeal of your canvas art, especially in darker rooms, where shadows may otherwise obscure your masterpieces.
Common Mistakes to Avoid
Creating a stunning display for your canvas art can be thrilling, but it's important to avoid common pitfalls that can detract from your efforts. While you're likely enthusiastic to showcase your artistic treasures, overlooking a few key details can lead to an unsatisfactory arrangement that leaves you feeling less than thrilled.
Here are three common mistakes to steer clear of:
- Hanging Too High: If you hang your art too high, you disrupt visual balance. Aim for the center of the piece to be 57-60 inches from the floor. This height guarantees ideal engagement, allowing viewers to appreciate the art without straining their necks.
- Ignoring Measurements: Failing to measure properly can lead to uneven spacing or multiple holes in the wall that make you feel like you're engaging in a modern-day wall Swiss cheese experiment. Use a measuring tape and level to guarantee accurate placement, saving you time and frustration.
- Overcrowding: It's tempting to fill every inch of wall space, but overcrowding can create a disjointed appearance. Maintain 2-5 inches of space between multiple canvases for a cohesive look. This will help each piece breathe and allow viewers to appreciate them individually.
Final Thoughts
So, now that you're armed with all the tips to hang your canvas art flawlessly, you might think it's as easy as just slapping it on the wall, right? Ironically, the true artistry lies not just in the placement but in the thoughtful preparation and execution that precede it. Embrace the process, appreciate the nuances, and your walls will become a gallery that not only showcases art but also reflects your unique style—without a single crooked frame in sight. If you're looking for stunning canvas prints that elevate your decor, consider exploring VerVeLush, where our expertise in art and unique offerings can help you find the perfect pieces to enhance your space.

